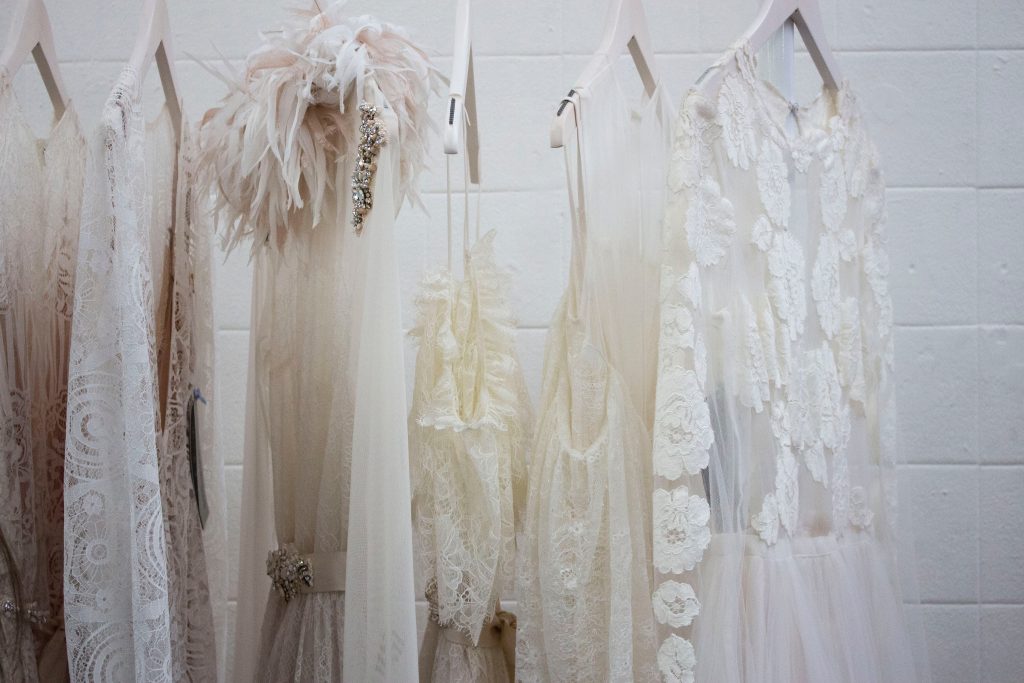

The spring has just started and so has your closet must-haves! There are a lot of trends happening, and I’ve combed through them to bring you this list of top 9 trending clothes you need this spring in your closet. Yes, there are only 9 trending clothes you need that you will be able to complete all your spring outfits with them. Check them out:
Top 9 Trending Clothes You Need This Spring

-
Block Heels
These are a must have this season! I am seeing them everywhere, and I can’t wait to add them to my closet. They are chic and simple. You can easily pair them with all types of outfits, jeans, dresses or even rompers.
I know! You are like me and want to go buy some in every color. I haven’t added these to my closet yet, but they are definitely a must-have!
2. Lace Up Wedges
Another favorite this season is the lace-up wedges. You can wear these poolside, out for the weekend, or even everyday with jeans. That is the great thing about these 9 trending clothes items is that they are so versatile and will complete any outfit that you pair them with. Wedges are so easy and comfortable to walk in too, so you will have no problems with keeping these on your feet all night long!
Lace-up shoes are so sexy! They make me feel like a goddess whenever I have them on. I just want to show off my legs in them! You will too. 😉
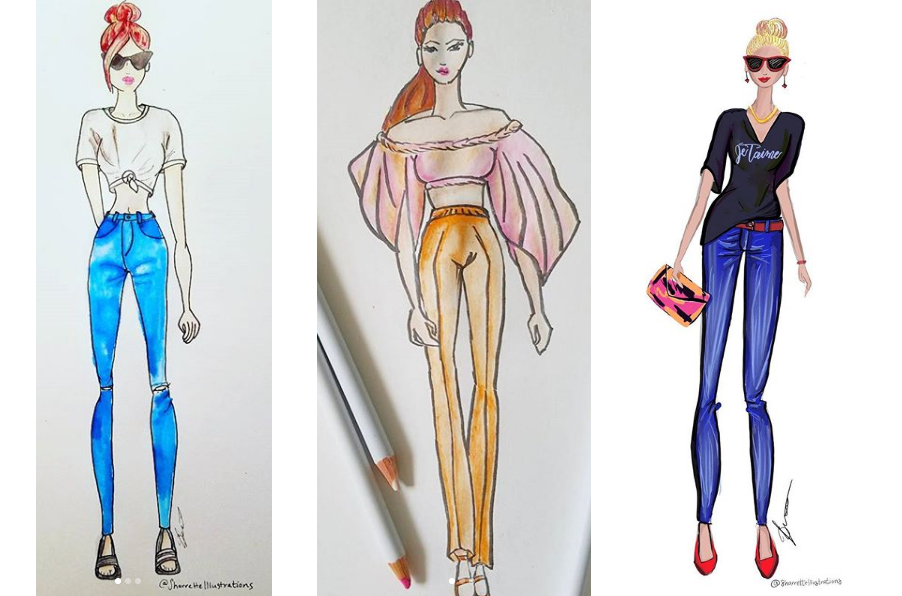
3. Ripped Jeans
Number three on my top 9 trending clothes this spring are ripped jeans. I have a couple of different pairs of ripped jeans, as I am sure you do too. Pull them out and wear them because they are still on trend! I know you get the comments from your parents and grandparents that they will buy you pants that aren’t ripped. Ignore them! You look fly!
All types of washes and definitely black and white ripped jeans are the colors you want to add.
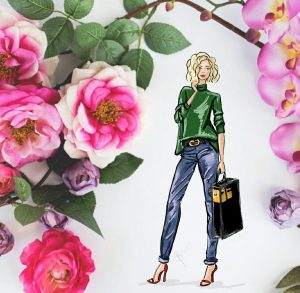
4. Moto Jeans
I am obsessed with Moto Jeans. They are like ripped jeans except your clothes aren’t torn! You have pants that have an element of design that was missing without them. My favorite colors for moto jeans are green and of course pink. Check them out and add them to your closet for this spring.
5. Off the Shoulder Tops
The latest trend for your tops and blouses is for them to be off the shoulder. Show some shoulder, show some skin. Super sexy! Who doesn’t love a sexy collarbone? Really easy to pair with skirts and jeans.
6. Rompers
These have been on the market for a couple of years, but they are really starting to take off in the style department. You can get a wide variety of styles of Rompers. Long or short, floral or plain, whatever you choose you will be on trend in a romper. Just let me know if you figure out an easy way to go to the bathroom whenever you wear one. 🙂
You will be wearing this for a weekend trip to the beach or a brunch with your friends! They are super comfy, too.
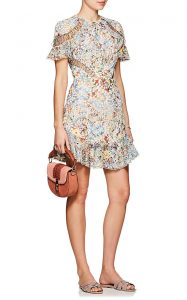
7. Maxi Dresses
It’s like resort wear took over the trends this spring for my top 9 trending clothes this spring to add to your closet. You will want to get your hands on a great casual and fancy maxi dress. They are the perfect item to pair with your block heels or wedges and head out for a date or to the movies with friends.
8. Tie Shorts & Tie Pants
Like I said the resort wear is taking over! Check out tie linen pants and shorts. They are a great spin on your traditional jeans and shorts. I think it is all about being comfortable, yet looking stylish and put together this spring. My favorite linen pants I’ve seen are from Vici Collection. Check them out here.
Other great tie pants and shorts are these:
9. Convertible Neckline Tops
Convertible tops aren’t just for nursing moms anymore! Now, they are making them for everyday wear. You can have the top be strapless or spaghetti strap depending on the top or long sleeve. They also combine the off the shoulder trend here. Great to pair with your ripped jeans for a fun night out. Or, just switch up the sleeves for a day to night wear.
Styling Them
So these are my top 9 trending clothes you need to add to your closet to be on trend this Spring. You can mix and match them with a wide variety of pieces to create unique and on-trend looks. I’m definitely looking to add them to my closet. What other trends have you seen this spring that you want to add to your closet? Comment below or connect with me on social media.
Have you read my post about how to minimize your pores for an everyday make up look?

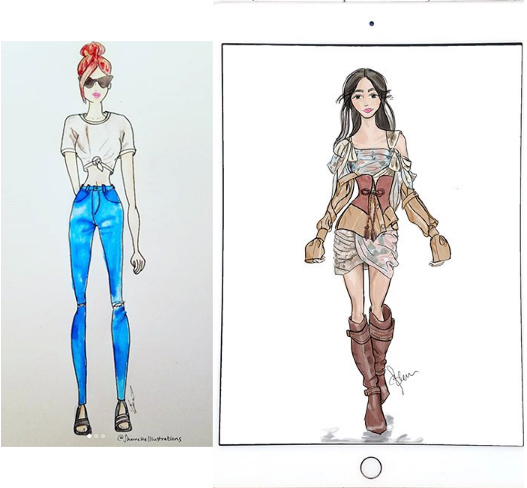
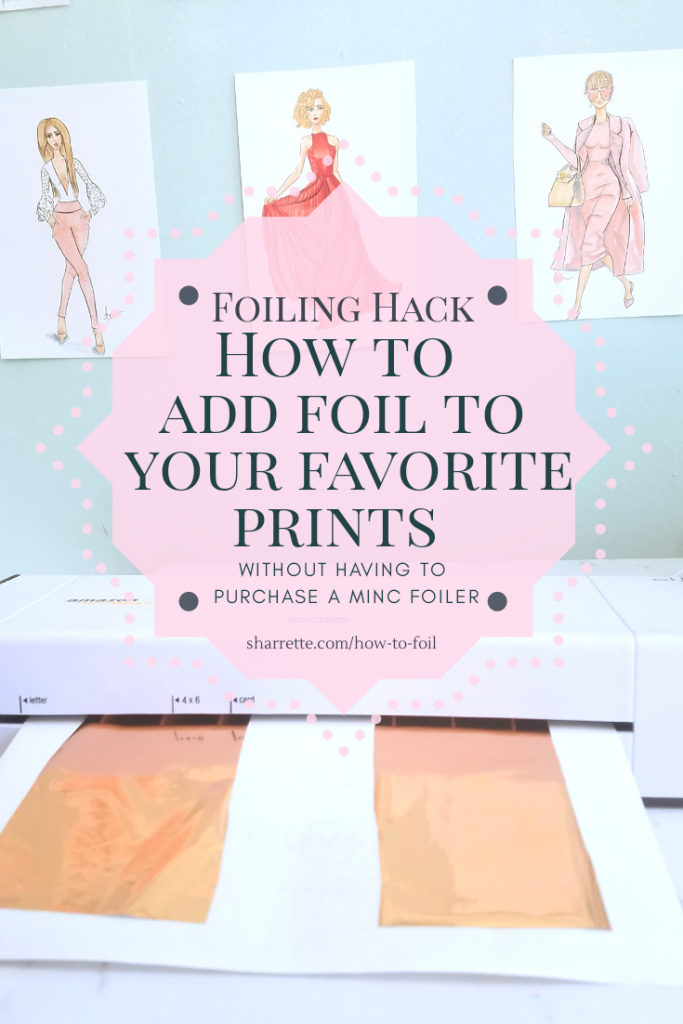
 After I have created the design, I will transfer it to my computer. I do this by emailing it to myself or sending it to myself via text or Google Hangouts. There are a multitude of ways to transfer the file, comment below if you need help with this step.


 I don’t use one of those folders for laminators but you can. Depending on the size of your image, print, and foil you can do it a couple different ways. If it is a normal piece of paper, you might want to adhere your foil in place with washi tape so that it doesn’t shift when it is put through the laminator. Or, as I mentioned, use one of those folders to put it into and then put it through the laminator.
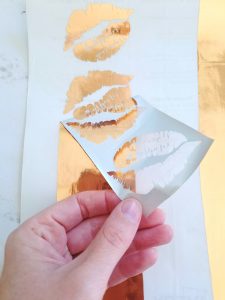

 sx
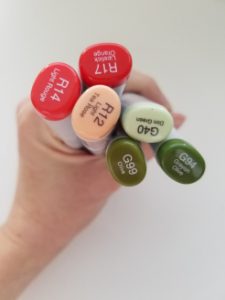
sx I don’t know what it is about the number three, but I find it alluring and seductive. Not too many things that I’ll get bored reading the blog and not too few that it would be a waste of time. With that said, I’m going to tell you about my top three favorite drawing materials.


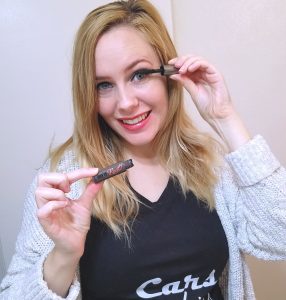
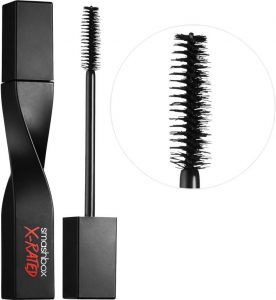
 To finish it off, I apply my mascara. My everyday mascara is Smashbox X-Rated. You can see my top three mascaras in this blog post


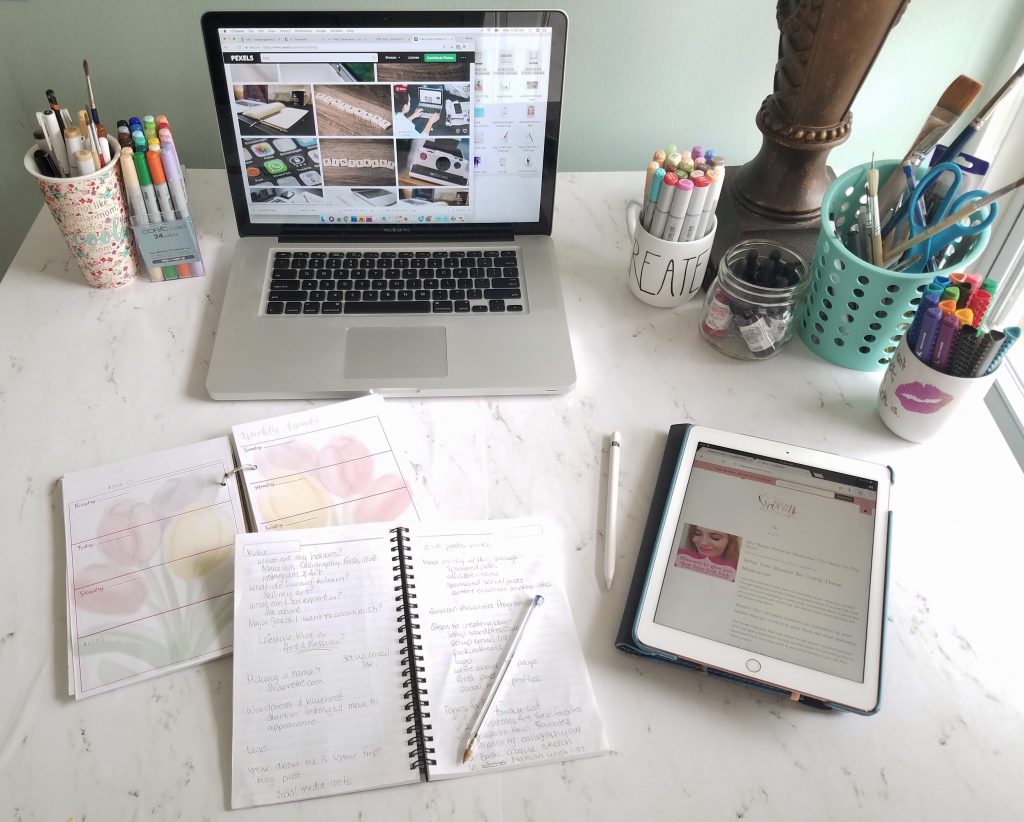
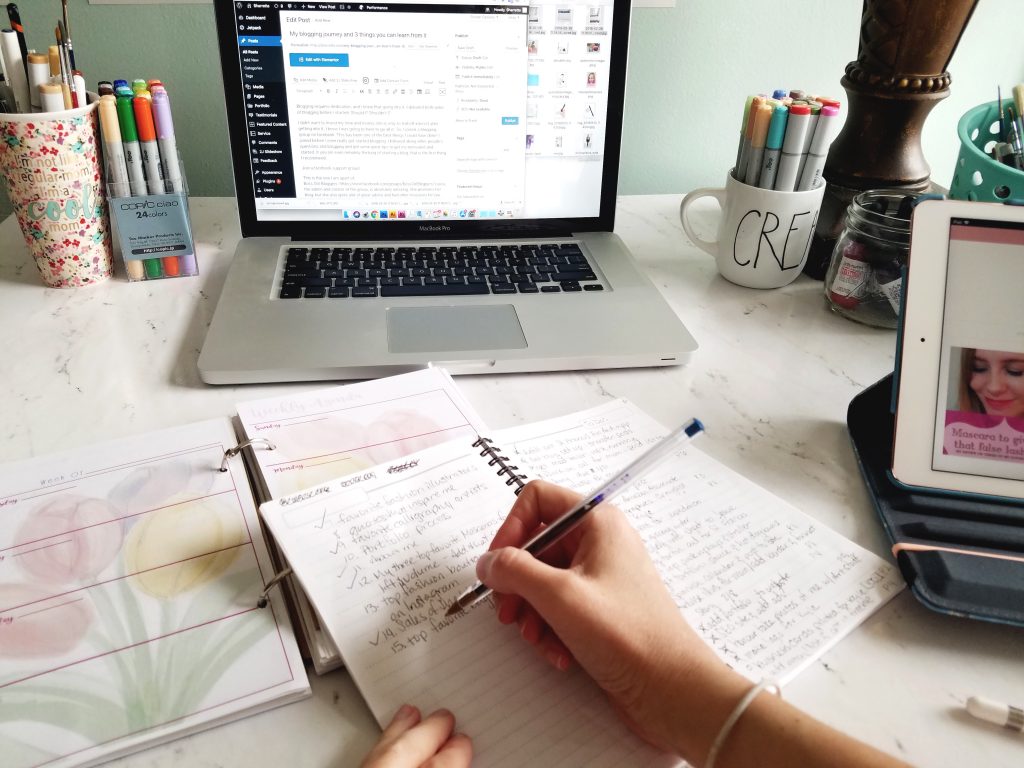
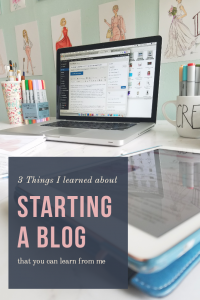 Blogging requires dedication, and I knew that going into it. I debated both sides of blogging before I started. Should I? Shouldn’t I? Let me make starting a blog easier for you by sharing my three main hesitations with starting a blog and how I overcame it.