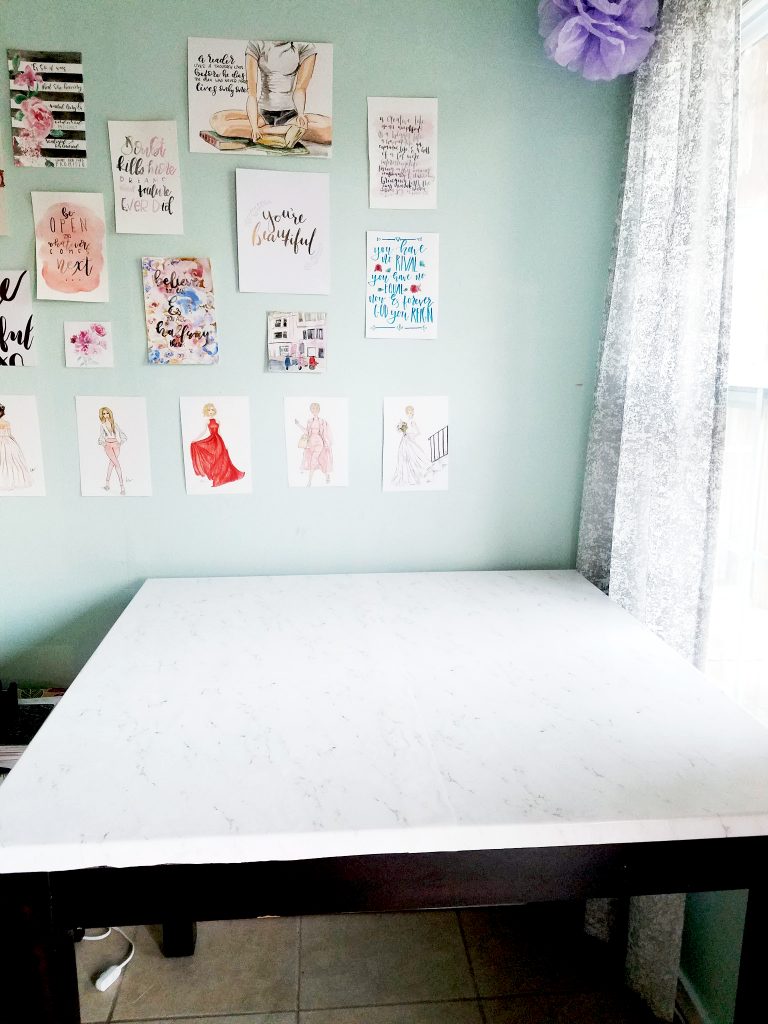
The Inspiration to Refinish A Table, my table that is.
I just got finished refinishing a table that I use as my desk and for all my craft and art projects. I wanted to tell you about the process, how I came up with the idea, and how amazing it turned out! Plus, it is super affordable.
Have you ever been on Pinterest and drooled over all the fancy home and office decor? No? Not even the amazing craft rooms? I have and do all the time. One day, maybe when my children grow up, I plan to make myself an amazing craft and office room. I’ve even started a Pinterest board to save all of the great ideas for when that happens.
In the meantime, I’ve been working on my art and blog. Taking photos has been a learning process over the past year or so. Trying to get the right lighting and editing the photos so the lighting and color are correct is quite the process. One thing I learned quickly was the setting or background needed to be consistent for posting and white generally looked the best to me.
What I’ve been doing in the Meantime for my Photos
I bought poster board to place my art and put my flat lays together. It worked for awhile but I got tired of the pure white look. Plus, poster board gets damaged easily. I deviated from the white poster board with scrapbook paper that looks like wood boards. I really like that and plan to still use it but then I started taking more photos from afar and of my workspace. The table I use is counter-top height. It’s not that comfortable. However, it keeps the kids from messing with all my supplies and the stuff I keep on it. The only problem is that it was a dark marble top.

It didn’t make for pretty pictures. I kept pinning and drooling over all the white desks. One day, I thought, I will get a white desk to take amazing photos!
Well, that day hasn’t come but while I was at JoAnn’s this week I ran across an amazing product! Are you ready for it?
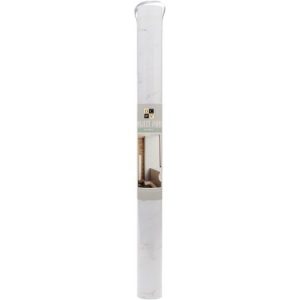
It was exactly what I had been looking for. The photos showed that it could go on the wall or furniture. I knew I had to get! So, I got it thinking that it had a sticky residue on one side to adhere it with. That was the first mistake I made.
Getting Home & Refinishing A Table
I got home and cleared off my table to begin refinishing the table with the project paper. It seemed like it would be quick and easy, so I got it started. I looked over the project paper and was upset to find it didn’t have a sticky side. There were no instructions either. I was at a loss how I was supposed to apply, so to google, I went.
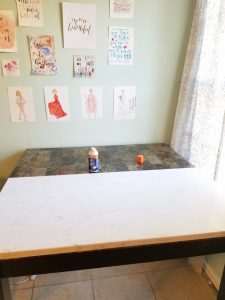
Google told me that you are supposed to modge podge it onto things and put a layer of modge podge over it. How frustrating! I was just at JoAnn’s and could’ve bought the modge podge while I was there had I known. I wasn’t about to wait or go back to the store. That wouldn’t stop me, though! Searching through my house, I found some spray adhesive I knew would work great.
Unfortunately, that ran out halfway through applying the second sheet. It was rough! I finally found another medium that acts like mod podge in my art supply. I was able to finish applying it. Holding the sheets and trying to apply it without air bubbles was difficult and I didn’t get the edges perfect.
After I finished applying the paper, I applied a coat of gloss to seal it down some. Here is the exact process I used:
- Buy project paper
- Learn I needed modge podge
- Get frustrated
- Find alternate spray adhesive and lodge podge in my house
- Apply spray adhesive to back of project paper
- Align with edges and one side of table
- Slowly lay down from one side to the other while smoothing out the best I could the air bubbles and wrinkles
- Run out of spray adhesive
- Find modge podge alternate
- Apple to other sheet for the second half of table
- Slowly lay down from one side to the other while smoothing out the best I could the air bubbles and wrinkles
- Move table outside, and apply gloss coating
- Let dry
It is paper so I have to use coasters if I have a drink. However, I am happy with the results. I can’t argue with how cheap it was and it makes a huge difference in the look and feel of the table. Plus, I can take all the amazing photos I want as seen in my previous blog post here.
Results
Here are some more photos of the end result:
What do you think? For $6 it isn’t bad, right? It has a line in the middle where the paper meets, but I’m totally okay with that. I’ll keep dreaming of my someday office craft room that has all the expensive stuff but in the meantime enjoy this amazing hack I found.
What is a hack you have found for something you have been dreaming about off Pinterest? I’d love to hear it. Share it with me on social media or comment below.

Xoxo
