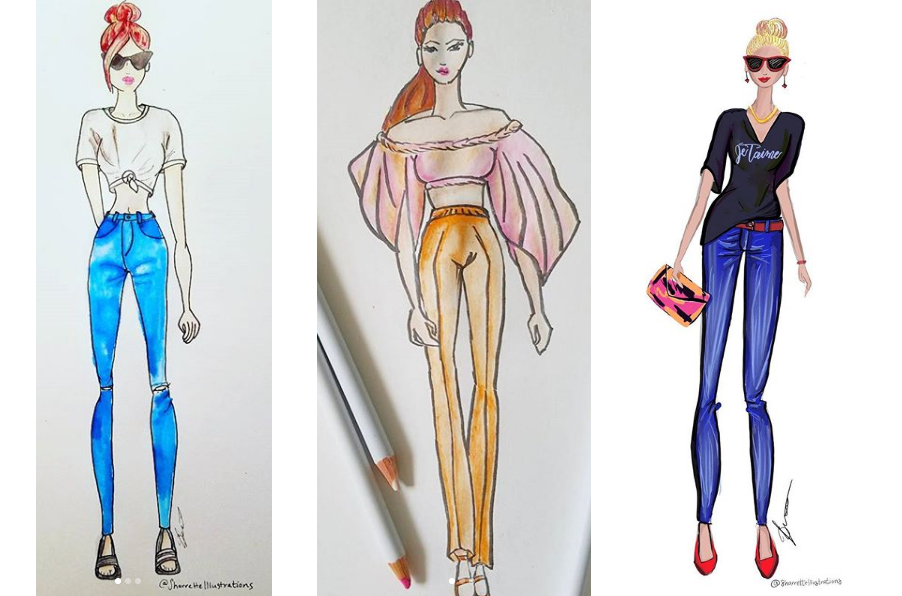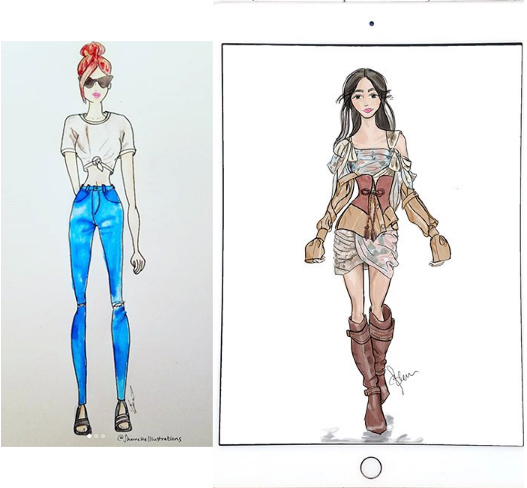
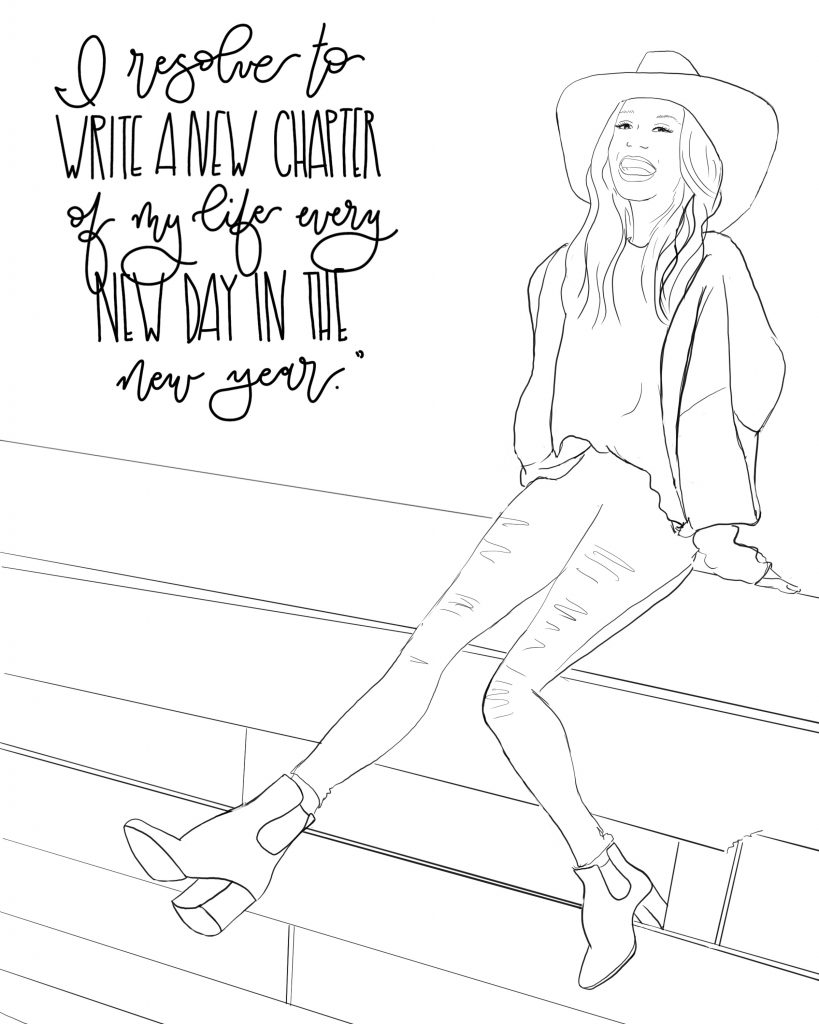
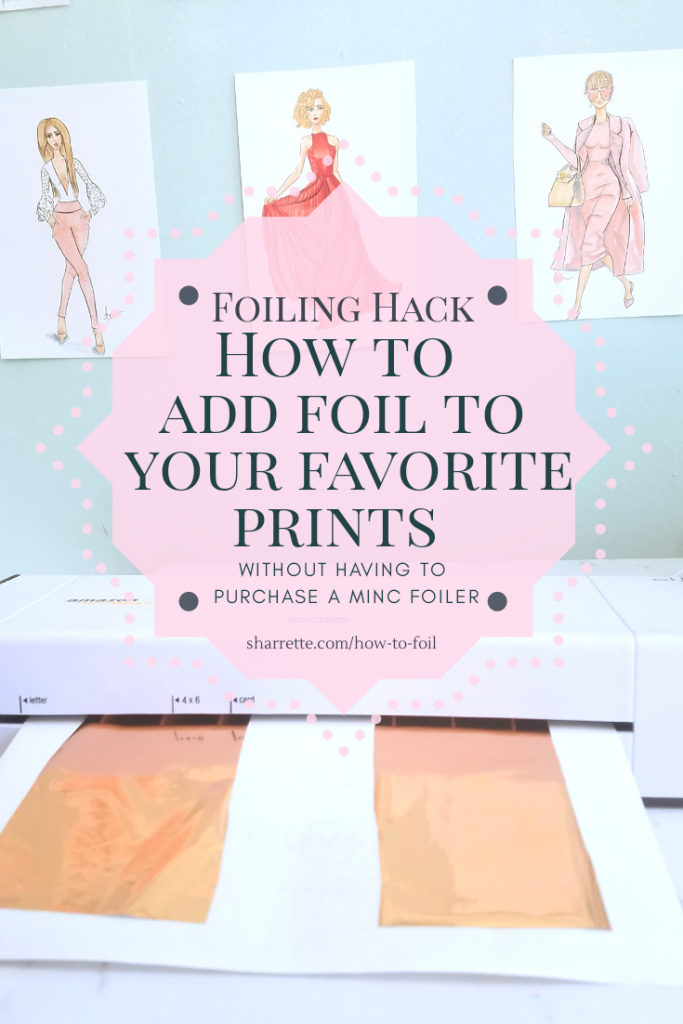
I wanted to share something with you today. A free fashion illustration for your personal use. I hope you like it and enjoy!
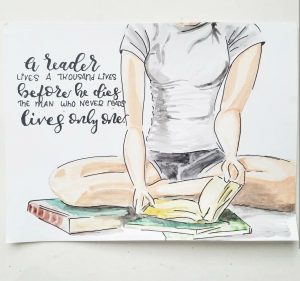
You matter. You are essential because no one can fill the place you have in this world. You affect people whether you realize it, with love or hate. So let’s share love, spread kindness, and right wrongs.

Click to download.


 After I have created the design, I will transfer it to my computer. I do this by emailing it to myself or sending it to myself via text or Google Hangouts. There are a multitude of ways to transfer the file, comment below if you need help with this step.


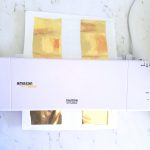 I don’t use one of those folders for laminators but you can. Depending on the size of your image, print, and foil you can do it a couple different ways. If it is a normal piece of paper, you might want to adhere your foil in place with washi tape so that it doesn’t shift when it is put through the laminator. Or, as I mentioned, use one of those folders to put it into and then put it through the laminator.
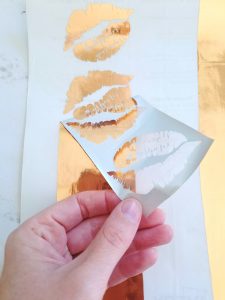

 sx
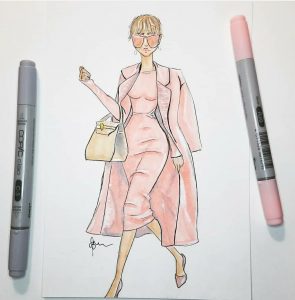
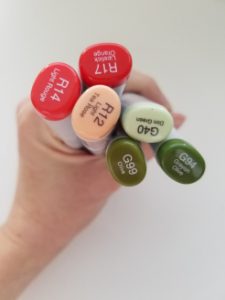
sx I don’t know what it is about the number three, but I find it alluring and seductive. Not too many things that I’ll get bored reading the blog and not too few that it would be a waste of time. With that said, I’m going to tell you about my top three favorite drawing materials.